Showing posts with label new ways to use old things. Show all posts

Monday, April 2, 2012

Gallery Wall

There are so many creative gallery walls out there! I thought I would create my own (on the largest wall I have in my house).
This is what the wall looked like before:

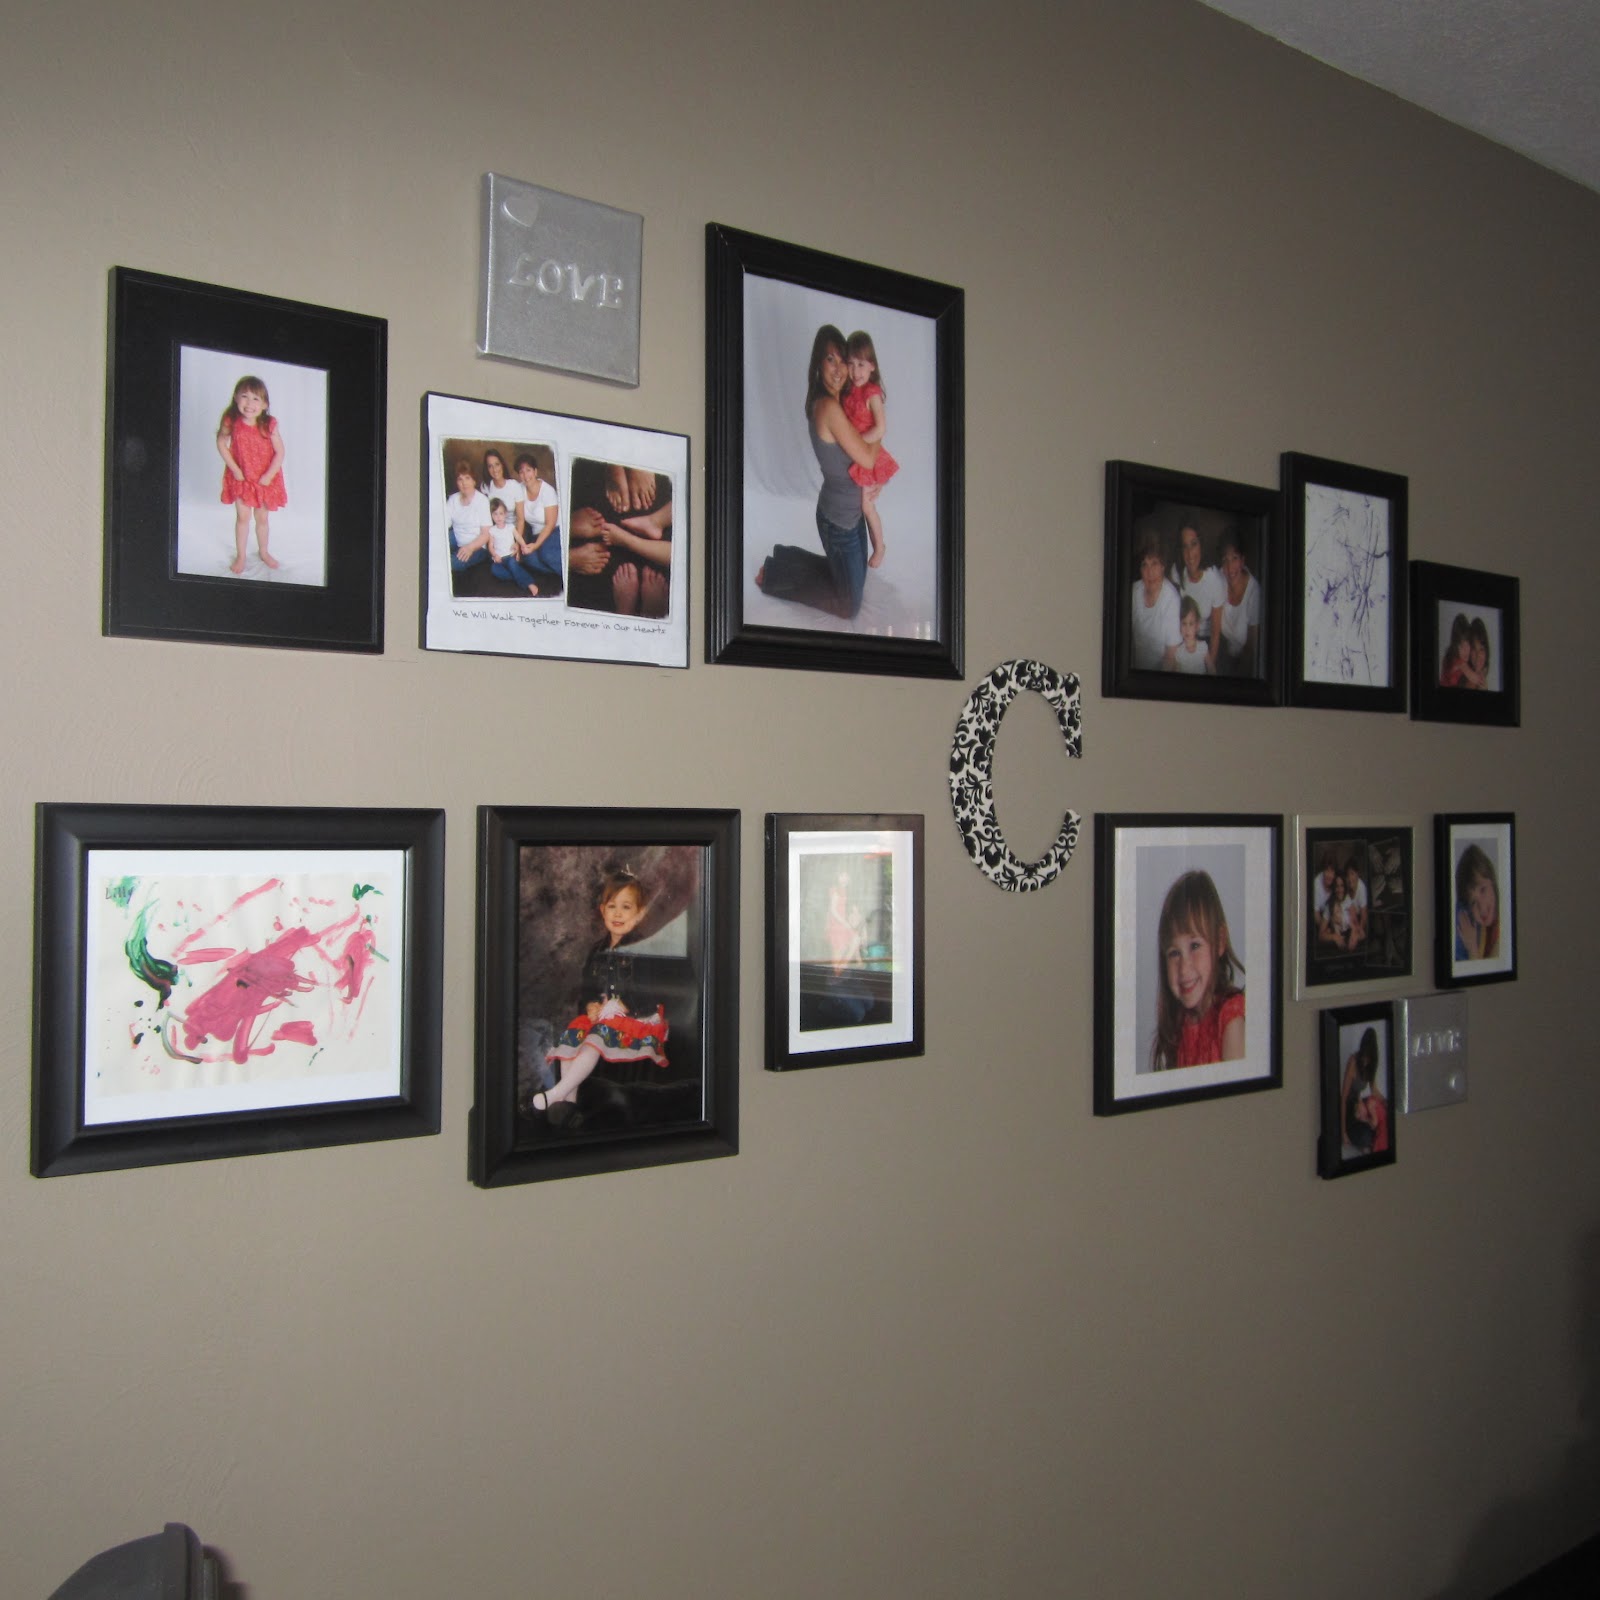
I started by making a center piece for the wall. A monogram 'C' (with the left over fabric from my headboard).

Got my hot glue gun out and created this:


I placed the 'C' on the wall. ooooo so lonely!!!


And here is a little picture hanging tip I read about. Use this nail to put in the hook on the back of your picture. Place the picture on the wall where you want it to hang, and give it a little tap. It will create a hole for you to place your nail in. Picture Perfect Placement!


I placed on my frames on the floor first so I could create a good balance of small to large frames.
This is how it started.
I made some marks on the wall creating a horizontal 5" line to line up the bottom of my frames. Start a hangin'! 


Slowly but surly, comin' along.


And, here she is. Complete! I added a few of my daughter's art projects to create some interest as well as a few silver canvas pieces I made.


creative. endeavor = completed 

Onward.

Tuesday, March 27, 2012

Old Cupboard into Serving Tray

Yes, yet another Pintrest find. I have been wanting to re-due my master bedroom now that my daughter's room is almost complete. When I ran across this on www.craftynest.com I knew I had to make these for my side tables.
Here is their example:

An old cupboard, made into a serving tray. Clever, hu??
So, I took a little trip to the Habitat for Humanities Re-sell store, and went crazy in there! I have so many ideas for projects.

This is how they started. Can you read the price tag? $3.00!!!!!


Sanded and spray painted them with three coats of white spray paint. ( I should buy stock in this stuff. It's wonderful.)


Found some hardware at Hobby Lobby that was 50% off. I think I paid $2.00 for each handle.


 Nailed the handles to the tray.


I tried two different inlays for the tray. This one is a piece of scrapbook paper cut to size and fits perfectly in the center. I like this idea because then you can change the inlay whenever you want to give it a new look.


For the second one, I decided to try some stencil work. I used this stencil, and made my own design to fit the space in the tray.

 I used a combination of these two paints to give it a sheer look.


 It is more sheer than what the picture shows. But, I love how both of them turned out. These are going to be a great addition to my side tables!


Side-by-side. They each will go on a white table like this one. Stay classy.


creative. endeavor= completed

Onward.

Friday, March 23, 2012

Rubber Band Tea Light

I found my inspiration for this next piece on Pintrest. So here is their example:

This is what I started with:

Here are a few tips: make sure you start in the middle with the rubber bands and work your way to the ends. Otherwise, they will get twisted when you try to put them on. After the paint has dried, take the bands off OVER the sink, or you will have a huge snowy like mess. And who wants to get the sweeper out?? Not this lady!


And, the finished product!


Not too bad?? Next time I will use more rubber bands I think. But, for a first try I like it! I am going to make a few more for the other side table.

creative.endeavor= completed 

Onward.


Vase

I needed something to brighten up my desk at work. Flowers should do the trick. Buttttttt I didn't have a vase. After a quick look in the pantry I noticed a dust covered mason jar in the back. Yes, I did have to climb on the counter to reach it. Vertically Challenged. I love the vintage style! (pardon the iPhone capture here)


And, up-close.

Next time you're in need of a vase, just look around to see what you already have!

creative.endeavor= completed

Onward.