Showing posts with label Projects. Show all posts

Monday, June 11, 2012

Mail Call!

Most of you can relate to this: Pintrest will be the death of me!
For my next project, I got the idea from this photo:

Isn't this the perfect idea to put outside your little one's door? You can write them notes, put some cookies in there, a small gift. The ideas are endless!
So I wanted to make one for Lilly. I found this mailbox on sale for $7 at Menards, but I'm sure you can find one at a local hardware store, or maybe even Goodwill.

I painted it a flat black, and used a tooth brush to splatter some pink paint on it for her. Then I used scrapbook letters to put her name on the outside.

And, then hang on the wall! I wrote her a little note and she just loves to put things in there to 'send' to me too.


creative. endeavor= complete

Onward.


Thursday, June 7, 2012

One Brick, Two Brick, Three Brick, Four...

We've been having some great weather lately, so many of my projects (that take forever) have been outside. I took the opportunity to try and finish my brick walkway.
When I first moved in, I couldn't stand that the bricks were all overgrown with grass and weeds. I started to pull up the grass and found that this was going to be a bigger job than I had first anticipated. You know the old saying, "do it right the first time." ? Well, I decided to re-lay every... single... brick... You would have too if you came upon the mess that I did! This is how it started. 

Beware: The following photo may cause you feelings of compassion and pity for the persons involved in taking on such tasks. And, they accept.

This is only about HALF of the walk way. The other half leads to the driveway.

This is the start of the drive way...see what a mess it is???

I spoke with my neighbor (as he looked at me with crazy eyes at the task I was about to embark on) and he said that he hasn't seen the top of these bricks in about 16 years! 16 years people!! I am doing a service by liberating these bricks to work to their full potential!

You can see the other half of the walkway in this picture, leading up to the driveway. I've made progress, right??!!

After hours upon hours of pulling up grass, digging out the bricks, leveling the dirt, laying sand, and RE-laying the bricks in a different pattern...it is almost complete.


I just need to lay a sand/mortar mix on top of these bricks and they should be nice and sturdy for walking! Only about 4 or 5 more feet to go. 

UPDATE:
Here it is complete! I'm so glad this project is over. Now I get to start on the brick patio.


creative. endeavor=  complete

Onward.

Creative Endeavors goes- Outside!

I took my endeavors outdoors this summer to do some landscaping work. Lucky for me previous owners didn't do any landscaping, so all I had to do was clear out grass and not cut down trees! There is a walkway from my back door leading to the back yard. I just got sick of seeing grass. I want to be welcomed into the backyard with whimsical plants! So, that is exactly what I started to create. Here is what the landscaping (or lack there of) looked like before:

Plain as you can get! I killed off the grass first and then cut it into sections to be able to roll the grass out of the space. I thought about renting a sod cutter, but it was just too big to be able to maneuver in this small space. So, I did it all by hand, and my muscles love me for it!

Anddddd, after! What a difference some hard work will make! I got some day lilies at a local greenhouse for $5 a piece, and in a few years they should multiply so I can move them around to other places in the yard. Not too bad for my first try at landscaping! Boy was it hard work. Very much worth it in the end.


creative.  (outdoor) endeavor= compete

Onward.


Monday, April 2, 2012

Simple Art

As I was planning out my gallery wall, I decided I needed to make a few extra additions to help keep the balance. I did a quick surf through my sidekick, Pintrest. And, I liked this:


So I decided to create my own!
I got some square canvas from Hobby Lobby and some wood letters.
I used a hot glue gun to keep the wood in place. Make sure to draw a light straight line, in pencil, to line up the letters. 


Then, I took them to the garage to spay paint them silver to give my gallery wall some balance, and POP.
Whatta think?


creative. endeavor = completed

Onward.


Saturday, March 24, 2012

Hooked on Laundry

Here is another Pintrest project, and one of my FAVORITE. 

So here is my laundry room before:

(I've got to get a room divider to hide the water heater- my next purchase.)


I taped off the stripe I wanted. I did 7", and it seems to work well. Here's a tip when applying tape: wear the tape around your wrist and unroll as you need it. Then, use an old credit card to make sure the paint doesn't bleed through the tape. It works like a charm!

Anddddd, I LOVE how this turned out!!


To make sure the hooks were spaced out evenly: I measured the space I wanted the hooks to cover and divided it by the number of hooks I had. Perfectly spaced!

creative.endeavor= completed

Onward.


Sunburst Mirror

This next project was inspired by THIS blogger. So I decided to try my own version of it.

I started with a #3.50 candle base and $.69, 100 count BBQ skewers. 


Then I grabbed my glue gun. I made a circle template in pencil on the back so I had a guide to go by.


Then, a little metallic gold spray paint andddd here we have it! I added a small display mirror to the center that I had laying around from a past project.


My daughter Lilly said she wanted me to hang it in her 'play area' after I paint her table and chairs black and red (yep, that's my daughter!). 

creative.endeavor= completed

Onward.

Friday, March 23, 2012

Rubber Band Tea Light

I found my inspiration for this next piece on Pintrest. So here is their example:

This is what I started with:

Here are a few tips: make sure you start in the middle with the rubber bands and work your way to the ends. Otherwise, they will get twisted when you try to put them on. After the paint has dried, take the bands off OVER the sink, or you will have a huge snowy like mess. And who wants to get the sweeper out?? Not this lady!


And, the finished product!


Not too bad?? Next time I will use more rubber bands I think. But, for a first try I like it! I am going to make a few more for the other side table.

creative.endeavor= completed 

Onward.


Entry Way Wall

If you've read my 'information' section you know "I have this condition" (Memento...anyone? anyone?) Correction, three conditions. 1. Acute Hoarding 2. Cheapness 3. Creative Brain (and lets face it, I need change in my life). I have challenged myself to many indoor and outdoor projects this summer, and I'm sure I will find many upcoming projects during summer yard sales. In all actuality, this is a positive creative outlet for me (it is wayyyyyy more cost effective than therapy; and more fun!). So, let the documentation begin! 

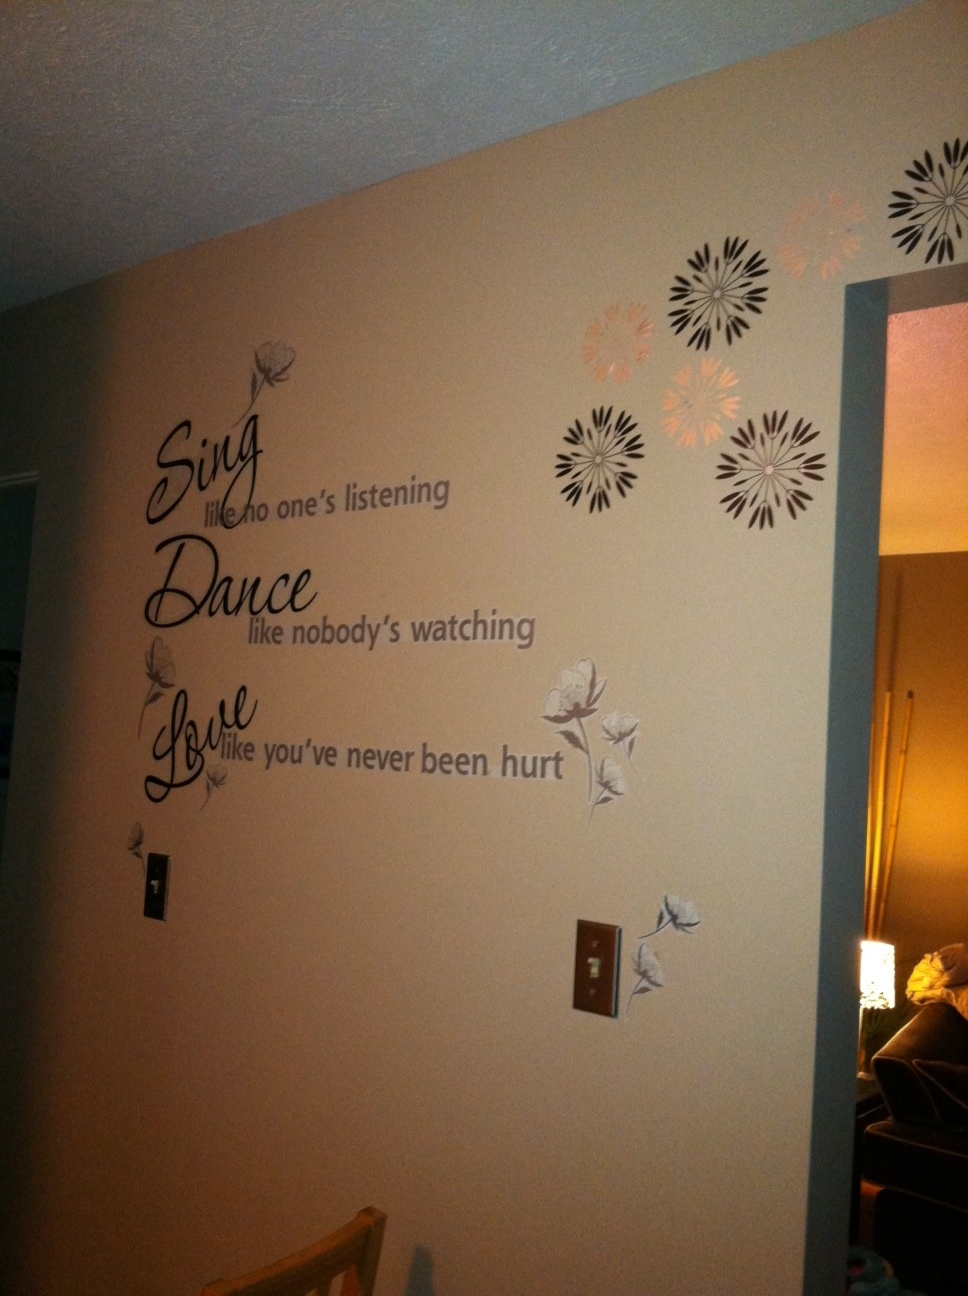
My first small project was to find something to put on my entry way wall. I had some family pictures put up, but I didn't like knowing if someone where to look through the windows of my front door they would see who lived there. So, I found this on clearance at Target! $9

I thought about a mirror, but I couldn't pass up this $9 purchase. And it fits the wall perfectly, right? Plus it is a great reminder: Sing, Dance, and Love. 

Onward.

creative.endeavor= completed